
Note that this screen is only availabe if you’ve disabled the Customizer.
In the Appearance Header Screen, if allowed by your current theme, you can customize the header of your theme by uploading and configuring an image.
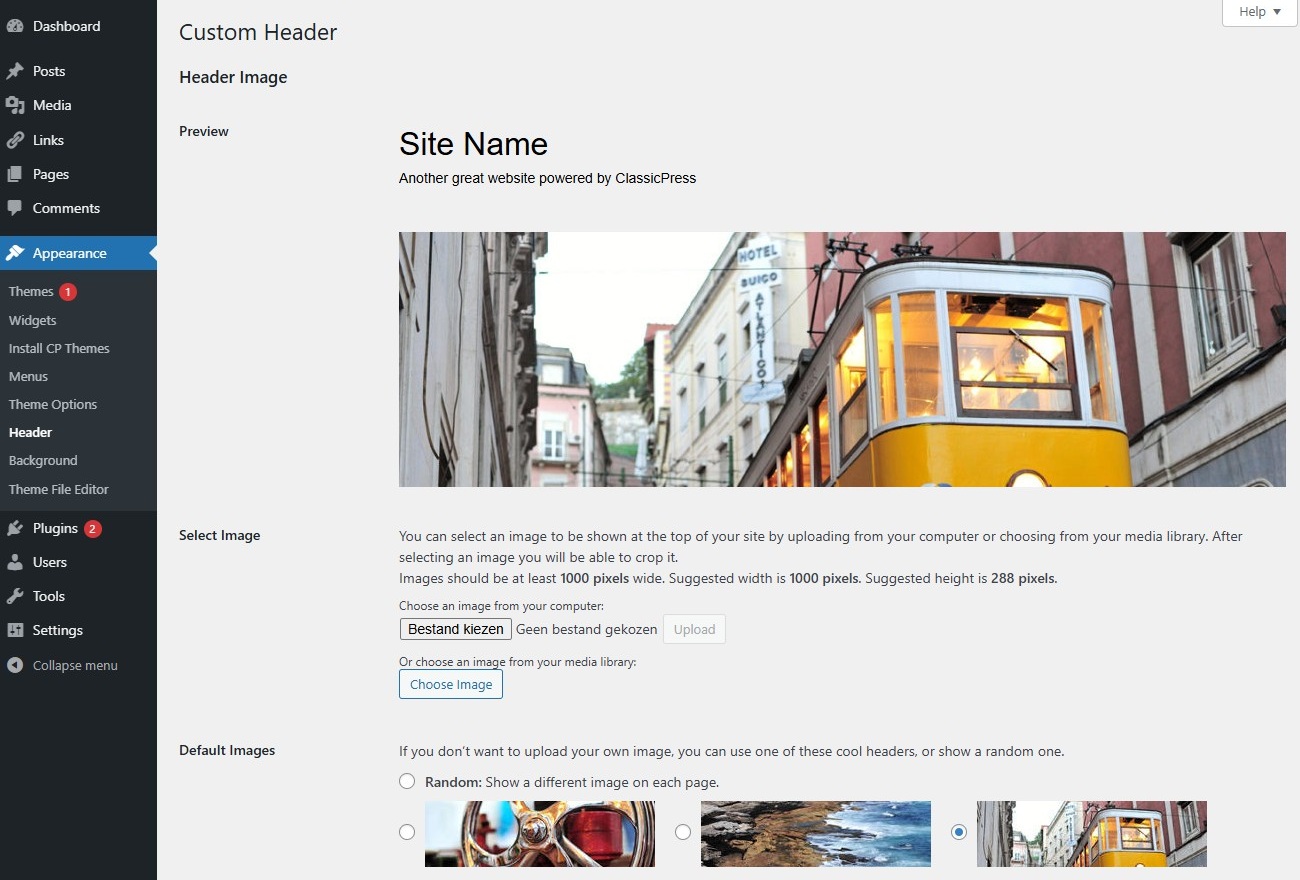
Header ImageLink to this section
PreviewLink to this section
In this box, the uploaded image, or the selected color is available for previewing.
Select ImageLink to this section
If you want to add a new image as header, there are buttons to upload one from your computer or select one from the Media Library. You then are able to crop the image or skip cropping and use the image as it it.
Themes may add information about the recommended image site.
Default ImagesLink to this section
For this document we’ve used the WordPress Twenty Eleven Theme, as it comes with six default images you can choose from. Not many themes offer this. You can click the “Random” radio box, to show a different image on each page.
Uploaded ImagesLink to this section
Select from images that you have already uploaded to the header screen.
Remove ImageLink to this section
Click the “Remove Header Image” button to remove the header image. You will not be able to restore any customizations.
Header TextLink to this section
You can also make changes to your header text:
- Show or hide the header text.
- Change the header text color.
A preview of that color is presented near the top of this screen.
Save ChangesLink to this section
Click the “Save Changes” button to ensure any changes you have made to your header settings are saved to your database. Once you click the button, a confirmation text box will appear at the top of the page telling you your settings have been saved.