Installing a new ClassicPress website using SoftaculousLink to this section
BEFORE INSTALL: Make sure your host supports at least PHP version 7.4.
Recommended is PHP version 8.3 or 8.4.
DISCLAIMER: options shown may vary according to the settings your host allows for Softaculous.
Step 1: Getting startedLink to this section
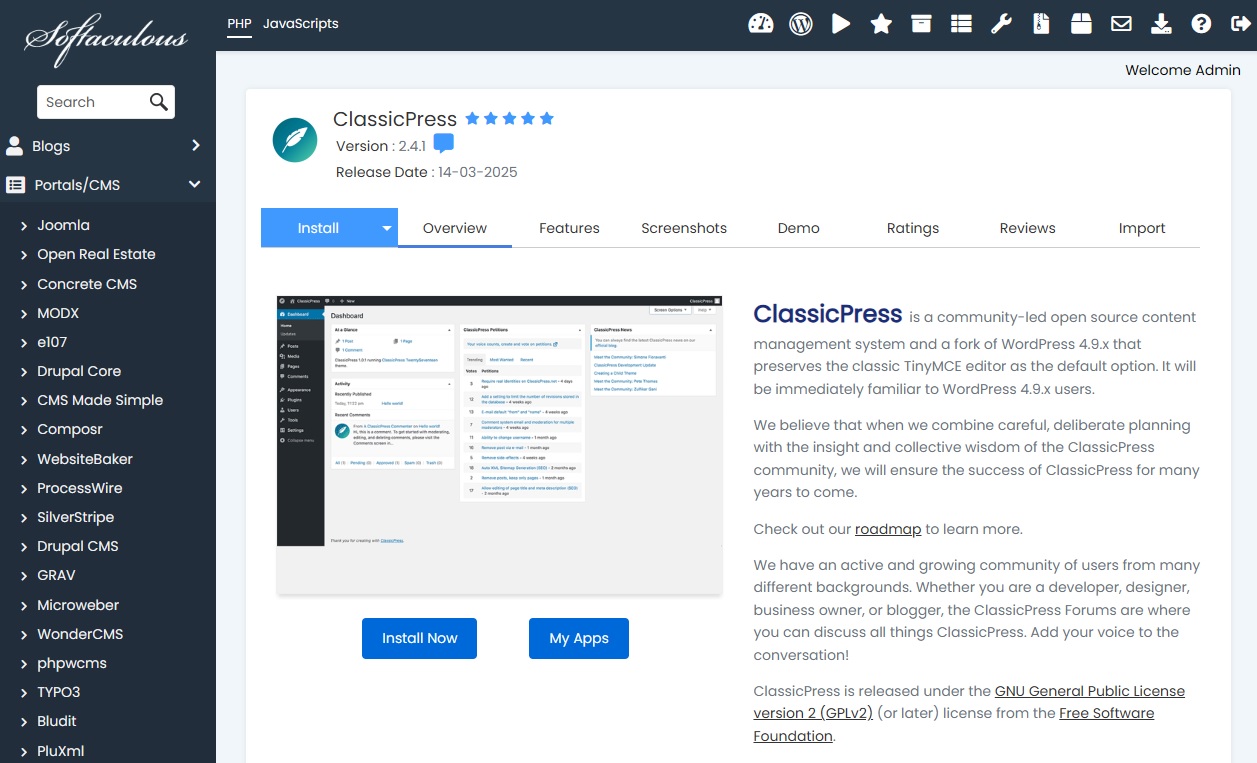
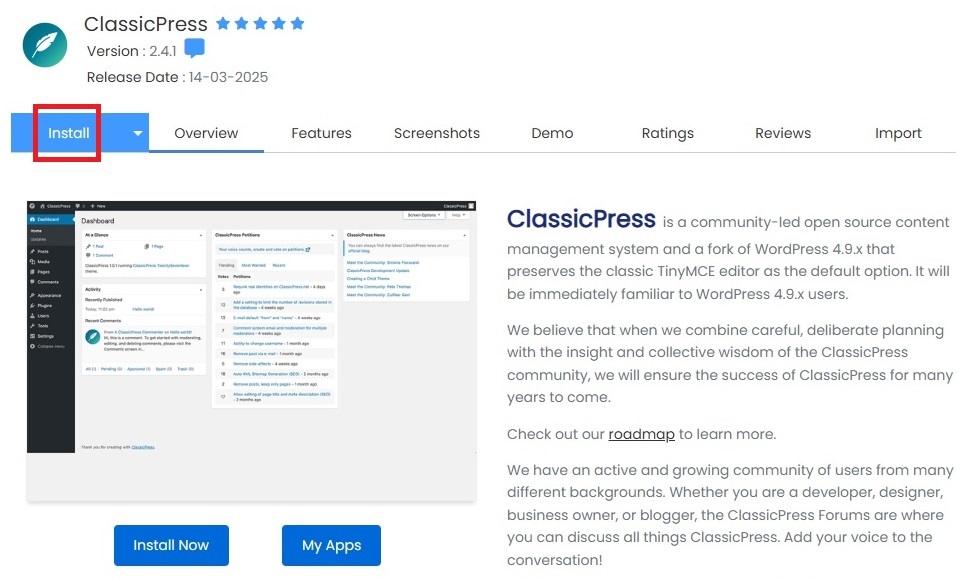
Open Softaculous and search for ClassicPress in the search bar, then open the ClassicPress summary page – As you can see there is an option to install:
There are two install methods, Quick Install and Custom Install:
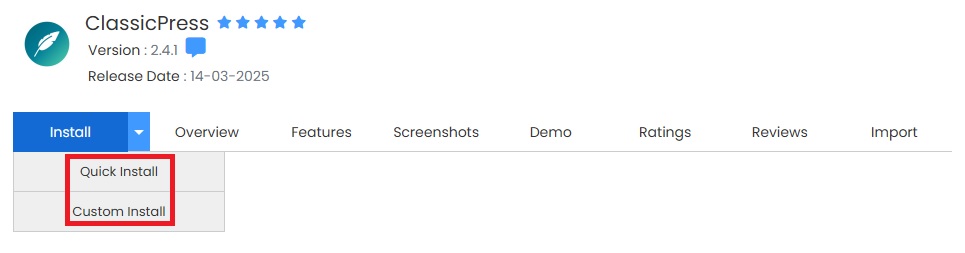
Below, choose the appropriate step 2 for Quick or Custom install.
Step 2a: Quick InstallLink to this section
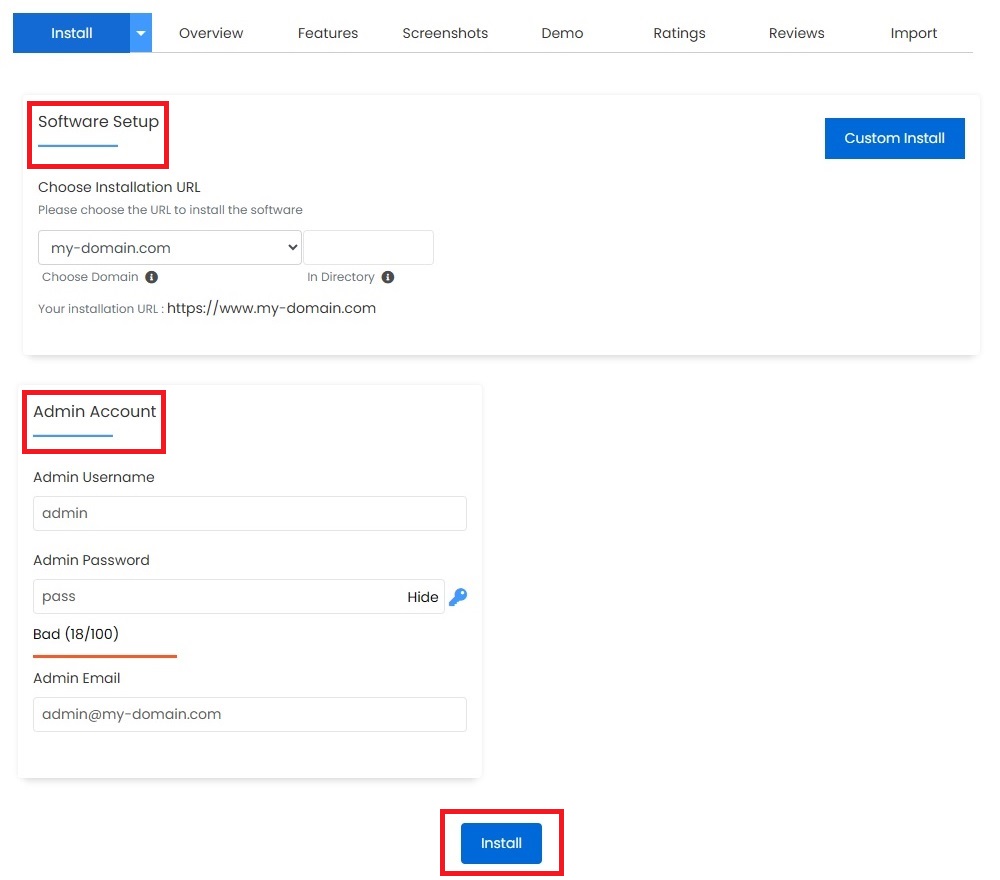
As you can see from the screenshot below, the only information required for this method are Domain, Installation Directory (optional) and Admin Account.
Step 2b: Custom InstallLink to this section
The Custom Install is recommended for advanced users who need more set up options.
Just select Custom Install from the dropdown and this opens:
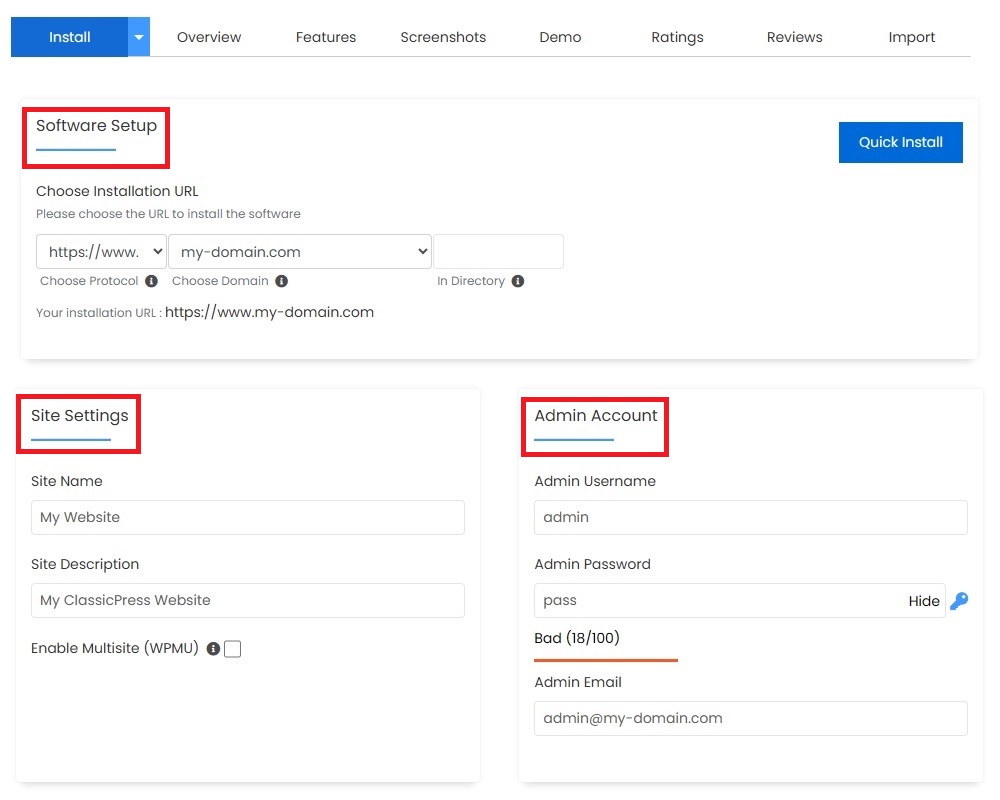
Here you can fill in Software Setup, Site Settings and Admin Account.
The Advanced Options gives you control over the database and backup settings.
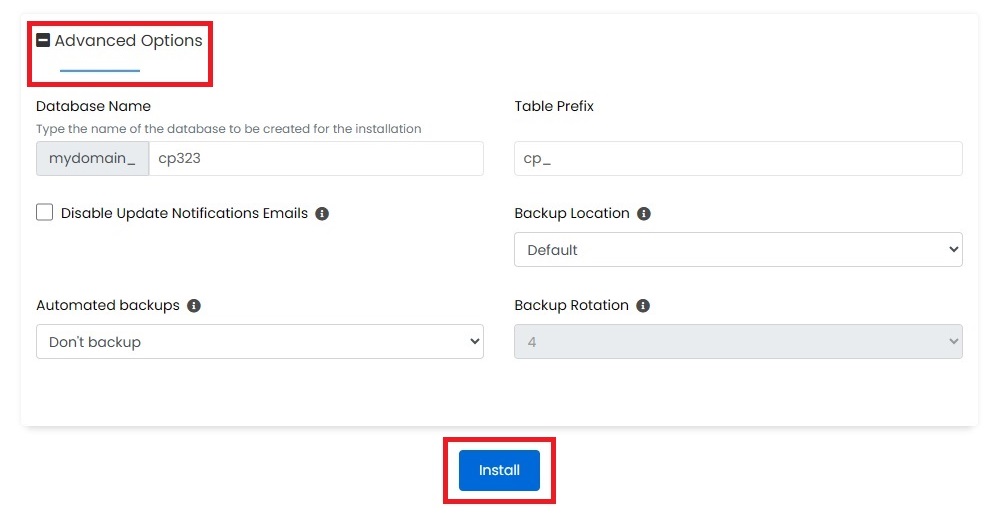
Step 3: Run the installLink to this section
After filling in all required information click the Install button at the bottom of the page and you should be redirected to:
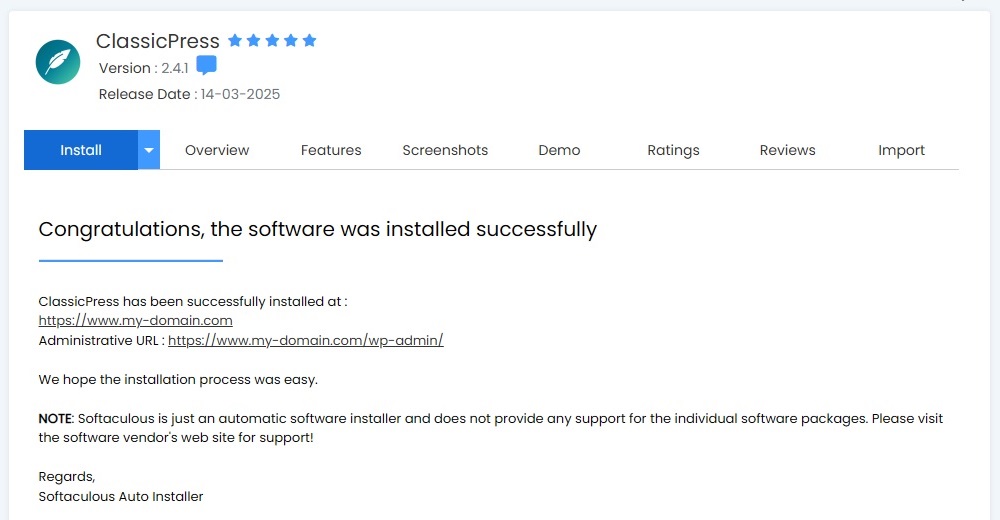
Which means you successfully installed ClassicPress from the Softaculous installer!
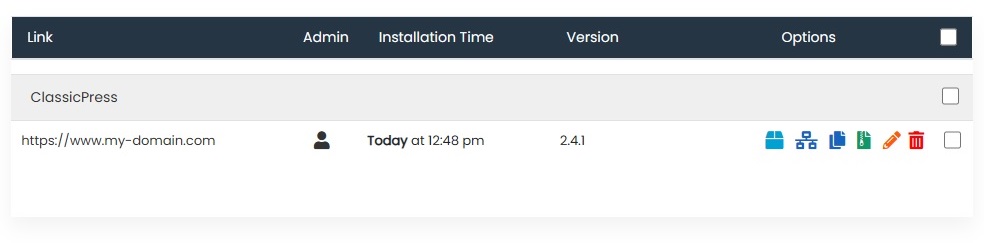
Go to the main Softaculous page and click the blue Installations button on the left.
Your ClassicPress install is now listed here.
Moving existing sites to SoftaculousLink to this section
If you currently have an existing site and want to move it into Softaculous, here is how you do it.
You may want to do this under the following circumstances:
- You have an existing site that was originally installed as a WordPress site by Softaculous, but you’ve migrated this site to ClassicPress.
- You have an existing ClassicPress site and you’d like to manage its updates using Softaculous.
Step 1: Disconnect your current installLink to this section
If you have a site installed in Softaculous as a WordPress site, you will first need to remove it from the existing management system so that Softaculous doesn’t detect your ClassicPress site incorrectly and prompt you to upgrade WordPress.
If your site was not installed by Softaculous as a WordPress site, then you can skip this step.
Go to the main Softaculous page and click the blue Installations button on the left.
Next, select the install you need to disconnect and click the red Trash icon.

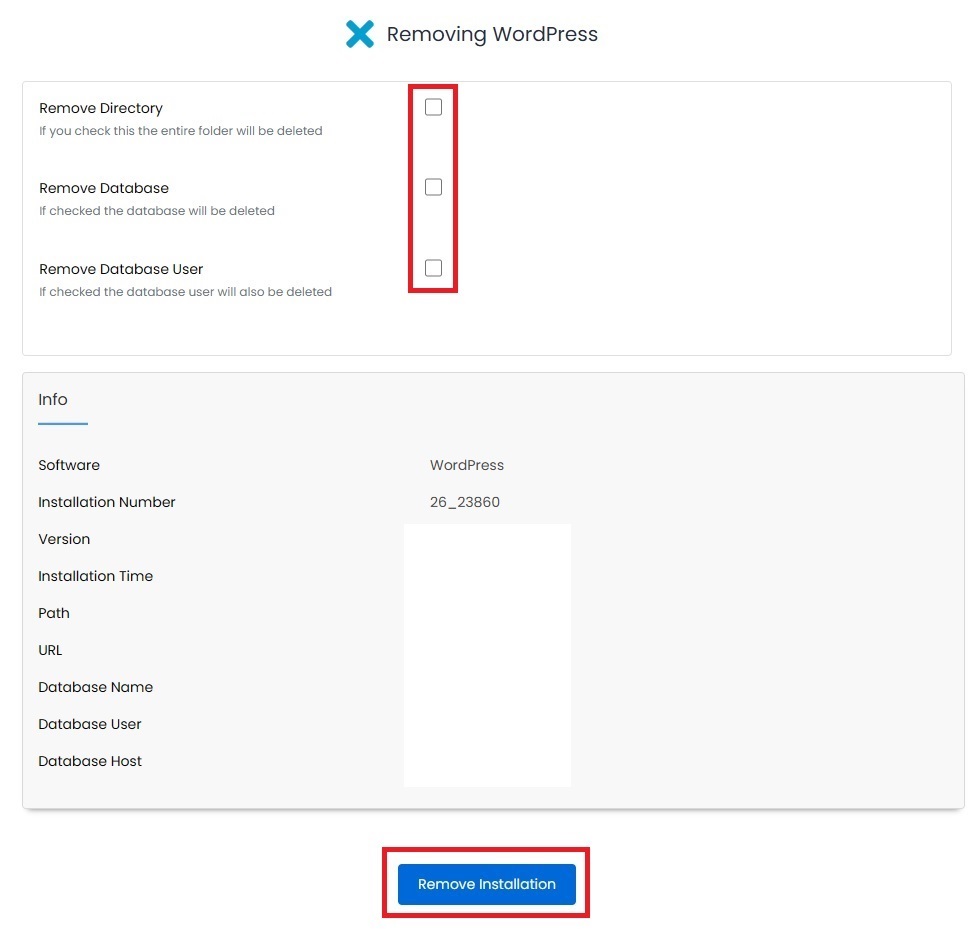
Now uncheck all the boxes as per the screenshot below, this will disconnect the install from Softaculous without touching the files and database.
After this, click on Remove Installation at the bottom of the page as shown here.
Step 2: Importing into SoftaculousLink to this section
Now, all you have to do is import the site in Softaculous linking it to ClassicPress, so that it can be managed via Softaculous.
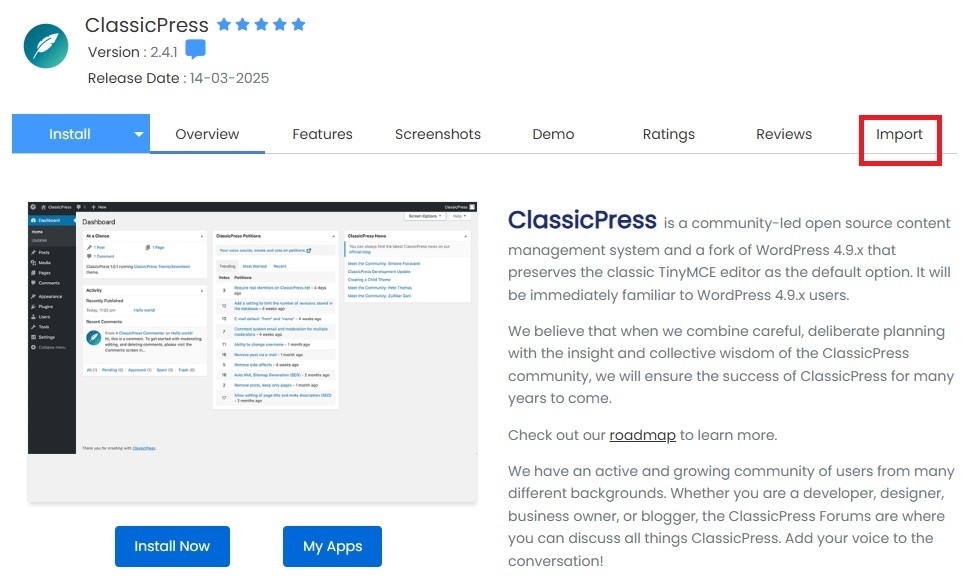
Search for ClassicPress (in the Portals/CMS category) and select the ClassicPress page within the installer.
Click import as shown below:
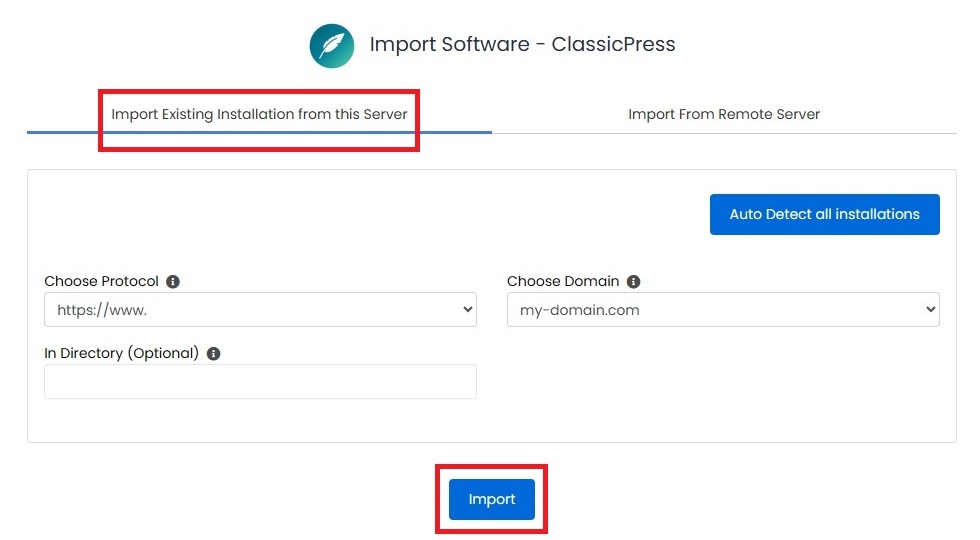
On the tab “Import Existing Installation from this Server” choose protocol, domain and directory (data from your existing ClassicPress site):
Step 3: Run the importLink to this section
After filling in all required information click the Import button at the bottom of the page and you should be redirected to:

Which means you successfully imported your install as ClassicPress in Softaculous!
Go to the main Softaculous page and click the blue Installations button on the left.
Your ClassicPress install is now listed here.
CreditsLink to this section
This document is based on a tutorial written by Elisabetta Carrara and posted on the ClassicPress blog.