
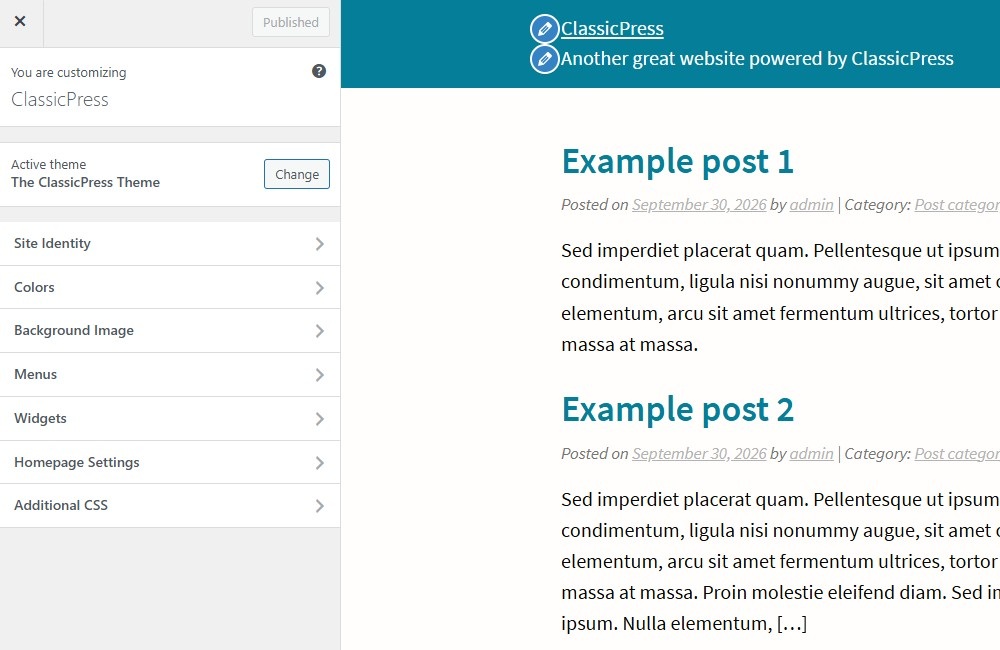
The Customizer allows you to preview changes to your site before publishing them. For themes that support it, you can change colors, backgrounds, custom image headers, and so on. If you select Appearance > Customize from the administration screen or click Customize in the toolbar at the top of your screen, the Customizer is launched.
How to use itLink to this section
Open a pane and specify the option value. Notice that during your changes, the preview screen is also changed. After you finished the customization, click the Publish button to enhance the changes to your site.
There are some tips:
You can shift > click the internal links (pencils) in the preview screen. Customizer will navigate to the clicked pane and display it with current customizing option value.
Device Preview Button
The Device Preview Buttons at the bottom of the Customizer pane shows how your site looks in mobile, tablet, and desktop contexts before making changes to its appearance. The Hide Controls button lets you preview the site without the Customizer panel.
PanesLink to this section
Change (theme)Link to this section
Clicking the Change button lets you change the current theme to another installed theme or a theme from the WordPress Repository. Clicking the theme will load or install the theme and the appearance of your preview will change, without changing the public facing site. This lets you to preview changes to your site before publishing them.
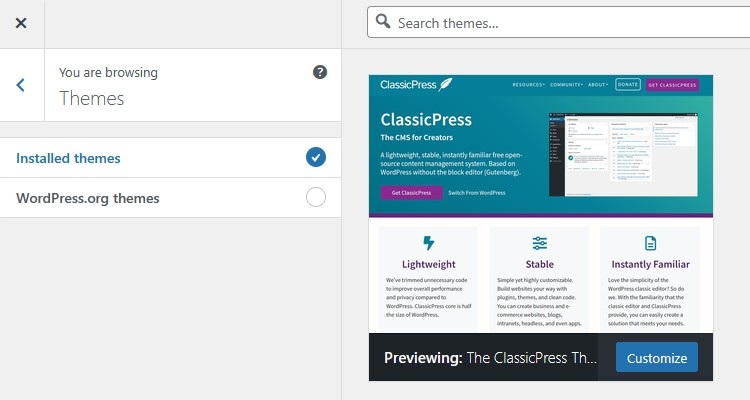
If you want to preview a ClassicPress specific theme, you should first install the theme via the Appearance > Install CP Themes page. This requires the ClassicPress Directory Integration plugin to be installed and active. After the theme is installed you are able to preview it in the Customizer.
Site IdentityLink to this section
This pane allows you to specify basic site information.
- Logo – a logo image such as a corporate logo.
Click Select logo to open the media library. Select an image from it or upload the new image from Upload files tab screen and click the Select button at the bottom right. You then are able to crop the image or skip cropping and use the image as it it. Click Remove or Change logo to remove or change the logo image. - Site Title – Text box for site title.
- Tagline – Text box for tag line.
- Display Site title and tagline (depending on theme) – Checkbox to enable or hide the display of the site title and tag line
- Site Icon – The Site Icon is used as a browser and app icon for your site. Icons must be square, and at least 512 pixels wide and tall. Click Select Site Icon to open the media library. Select an image from it or upload the new image from Upload files tab screen and click the Select button at the bottom right. You then are able to crop the image or skip cropping and use the image as it it.
ColorsLink to this section
The Colors pane allows the customization of the background color as displayed by the theme. Depending on the theme more color related options are displayed here.
- Background Color – Click the color input. You can either enter a hexadecimal number (e.g. cc0000) representing the color to be displayed as the background of your theme, or from the color picker, click the desired color and the hexadecimal number for that color will be placed in the color input. Click Clear to restore the initial condition. The background may only be visible on wide displays.
Background ImageLink to this section
Select an optional background image to use in place of the solid background color specified in the Colors pane above.
- Select image – Click this button to open the media library. Select an image from it or upload the new image from Upload files tab screen and click the Select button at the bottom right. The Customizer will then preview your site with the updated background.
- Remove – Once an image is uploaded, if the image is no longer desired, use this button to remove the image. You will not be able to restore any customizations.
- Change Image – Click this button to change the background image.
- Preset selext box – Under Preset, you can select how you want the background image to be displayed: default, fill screen, fit to screen, or repeat.
- Image Position – You can also select the background image position by clicking on the arrows under Image Position, to be positioned Left, Center, or Right. Clicking on center will align the image to the center of the screen.
- Image Size – You can change the Image Size from the select box to Fit to Screen, Fill Screen or keep it Original.
- Repeat Background Image – Click the checkbox to repeat the background image across the page.
- Scroll with Page – Click the checkbox to enable the background image to scroll with the page or display as fixed.
MenusLink to this section
This pane is used for managing the navigation menus for content you have already published on your site. You can create menus and add items for existing content such as pages, posts, categories, tags, formats, or custom links.
Our The ClassicPress Theme supports two menu locations: Main menu and Footer menu. From the select down box, select the menu that will be presented in the location. If you have added support for more navigation menus in your theme, you will see more location options in the select box.
WidgetsLink to this section
Widgets are independent sections of content that can be placed into widgetized areas provided by your theme (commonly called sidebars). You can configure the widgets via Appearance > Customize > Widgets pane and see your changes in live preview of the Customizer.
ClassicPress comes with a variety of widgets. The Widgets Screen page gives you information about the available widgets.
Adding your widgetsLink to this section
- When clicking the Widgets pane, all available widget areas are displayed.
For The ClassicPress Theme these are Blog Sidebar, Main Sidebar, Homepage, and Footer. - Clicking one of the widget areas will display all already added widgets, or an empty area is displayed.
- Clicking Add a Widget will open the available widgets pane. This will list the same widgets as in the Appearance > Widgets Screen.
- Clicking a widget will add it to the widget area, which lets you also open the widget and make the changes you want.
You can also change the widgets order by dragging them to the appropriate place.
If the widgets area is part of the live preview, you will see your changes instantaneously. - Clicking Publish will save your changes.
Homepage SettingsLink to this section
You site’s home page can either contain your latest posts or display a static page or post.
- Your latest posts – select this to show your latest posts in your home page
- A static page – select a home page and (if needed) a posts page, or create an entirely new page via the Add New Page link.
Additional CSSLink to this section
A pane that lets you add CSS code which will override the current theme. For major changes we recommend creating a child theme instead.
Custom panesLink to this section
Many themes will add additional panes to the Customizer, for various theme settings. For example, the Twenty Seventeen theme will add a pane called Header Media, for adding a image or video to the header section of the theme.