Installing a new ClassicPress website using InstallatronLink to this section
BEFORE INSTALL: Make sure your host supports at least PHP version 7.4.
Recommended is PHP version 8.3 or 8.4.
DISCLAIMER: options shown may vary according to the settings your host allows for Installatron.
Step 1: Getting startedLink to this section
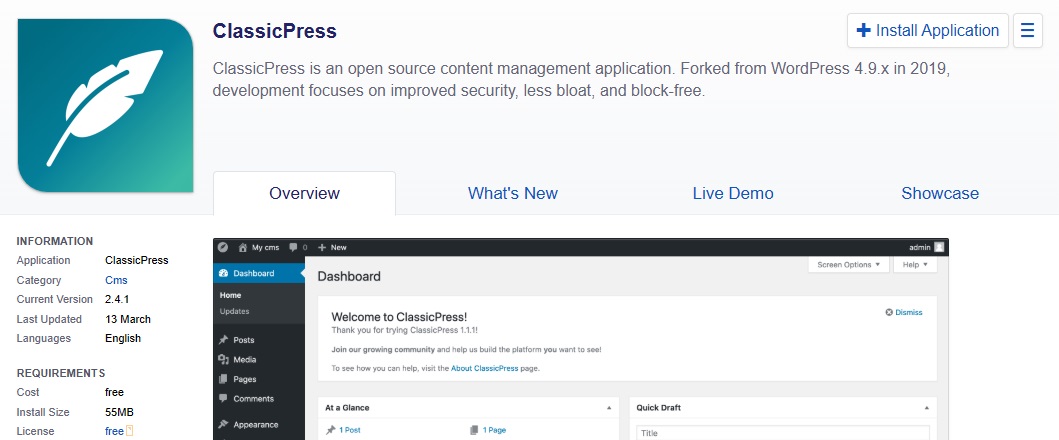
Navigate to the Applications browser of Installatron and search for ClassicPress in the search bar.

Or click the ClassicPress icon from the list on the page. Listed under Apps for Content Management.
![]()
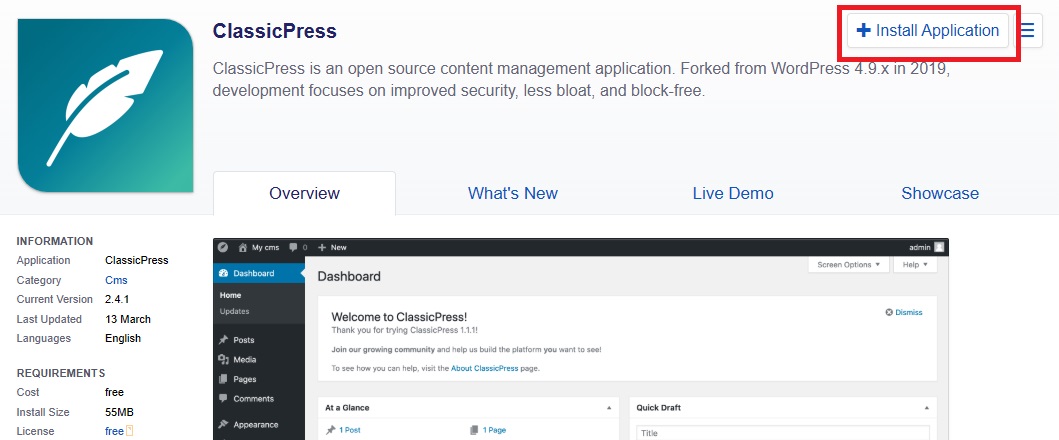
Click the Install Application button on the right.
Step 2a: SettingsLink to this section
After clicking the Install Application button this page opens:
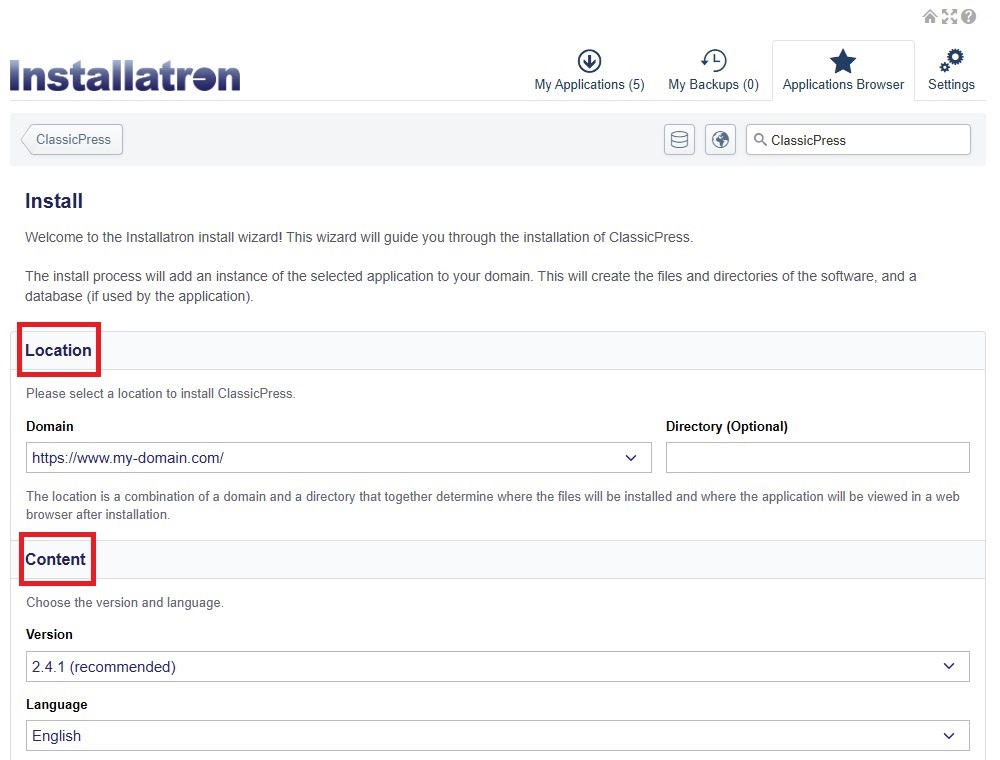
Under Location you fill in the Domain name you want to use and optionally the directory in which you want ClassicPress to be placed.
Under Content you pick the ClassicPress Version and Language.
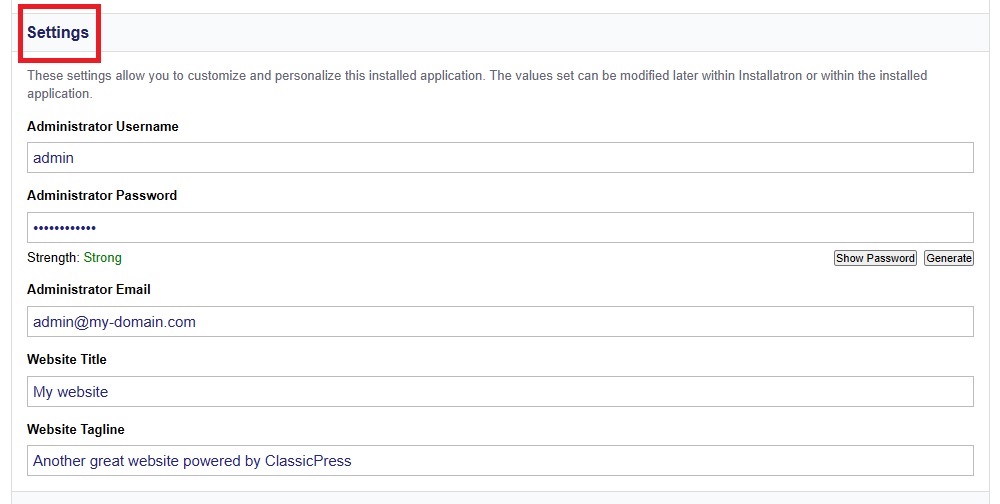
Below, under Settings you choose your admin’s Username, Password and Email. You also pick your site’s Title and Tagline.
After this you can decide whether you want to fill in the Advanced settings yourself or let Installatron do it for you. For the Advanced settings go to Step 2b.
Step 2b: Advanced settingsLink to this section
In the Advanced settings you can configure some extra settings for your ClassicPress installation like Database, Updates and Backups.
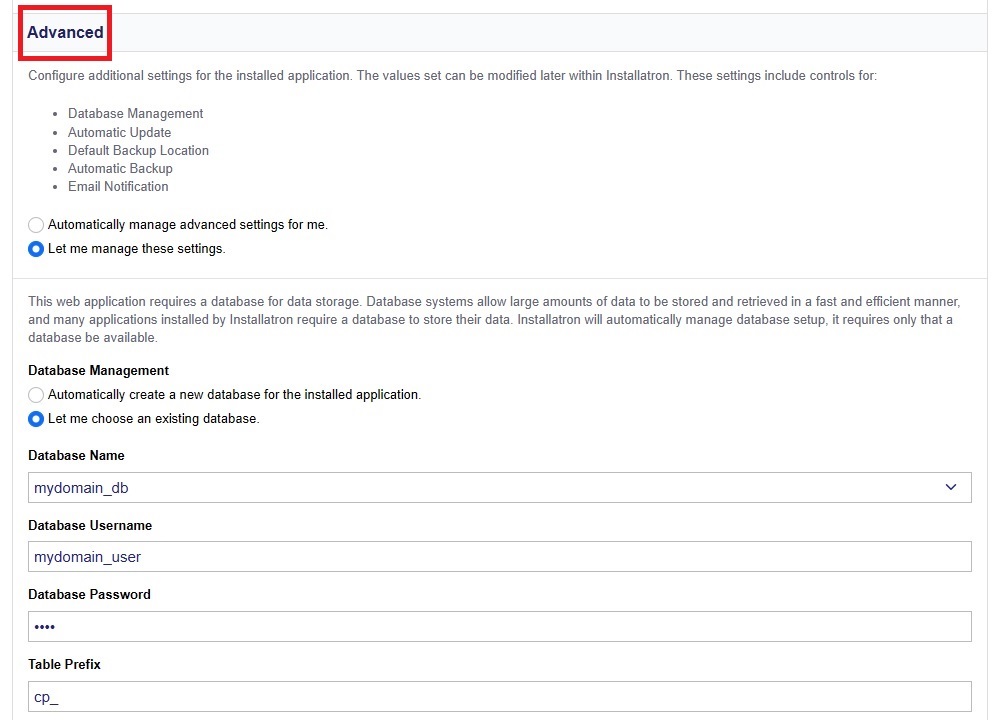
Under the Database settings you can fill in an existing database. Fill in the username and password to give Installatron access. It also allows you to pick a prefix for your table. You do not need to change this, but it is helpful to change it to something unique if you are already running other ClassicPress sites from the same Database.
The other Advanced settings allow you to choose how updates are handled, where automatic backups are stored, how often backups should be made and what email notifications to receive.

Step 3: Run the InstallLink to this section
When all of this has been filled in, you can click the Install button at the bottom of the page.
Now simply wait for the progress bar to fill up.
Once the above turns into:
Congratulations… you successfully installed ClassicPress from the Installatron installer!
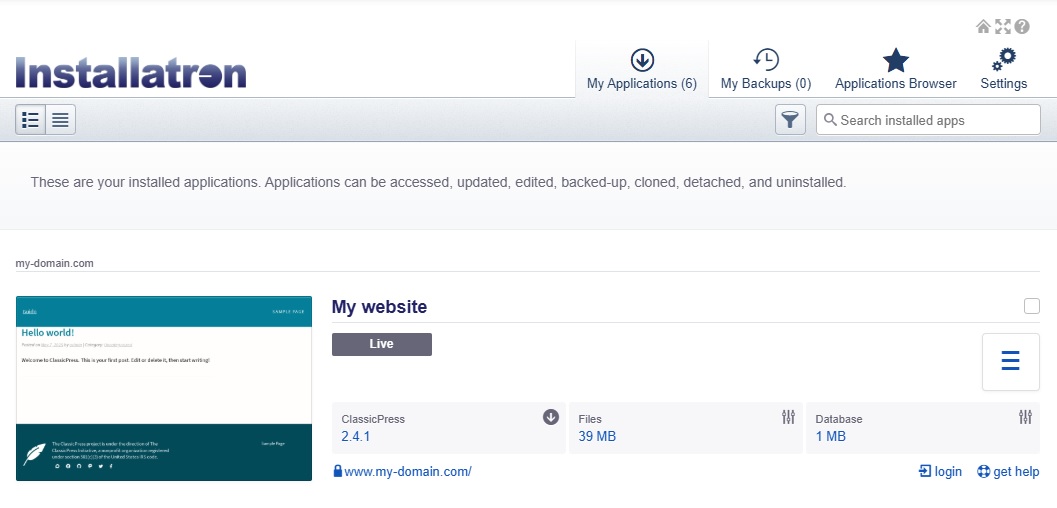
Moving existing sites to InstallatronLink to this section
If you currently have an existing site and want to move it into Installatron, here is how you do it.
You may want to do this under the following circumstances:
- You have an existing site that was originally installed as a WordPress site by Installatron, but you’ve migrated this site to ClassicPress.
- You have an existing ClassicPress site, and you’d like to manage its updates using Installatron.
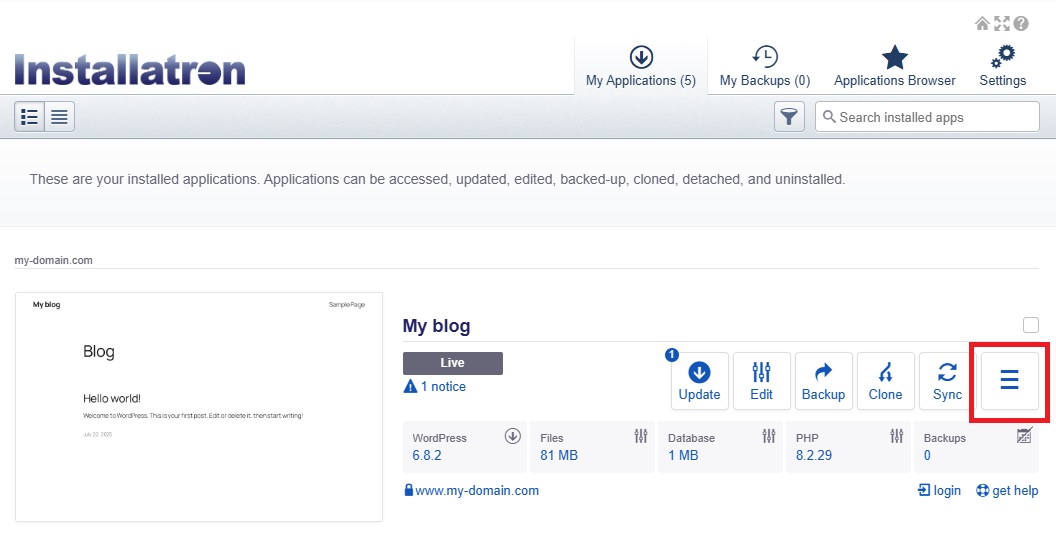
Step 1: Disconnect your current installLink to this section
If you have a site installed in Installatron as a WordPress site, you will first need to remove it from the existing management system so that Installatron doesn’t detect your ClassicPress site incorrectly and prompt you to upgrade WordPress.
If your site was not installed by Installatron as a WordPress site, then you can skip this step.
Go to your application and select Detach from the dropdown on the right.
The detach page opens and click Detach.
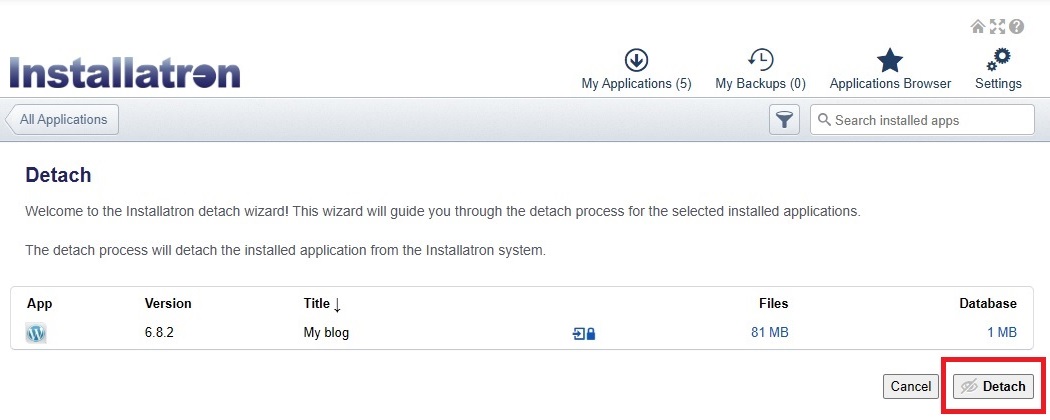
Your site is now removed from the Installatron Applications screen.
Step 2: Navigate to ClassicPressLink to this section
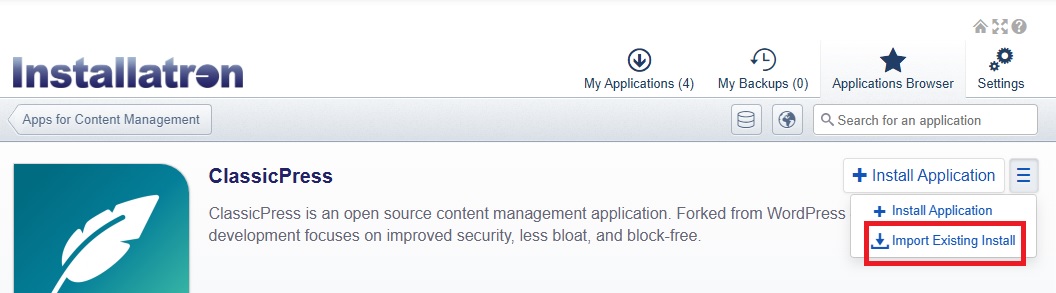
Navigate to the Applications browser of Installatron and search for ClassicPress in the search bar.
Or click the ClassicPress icon from the list on the page. Listed under Apps for Content Management.
![]()
Step 3: Run the importLink to this section
You will be importing an existing application, so choose this option from the dropdown on the right.
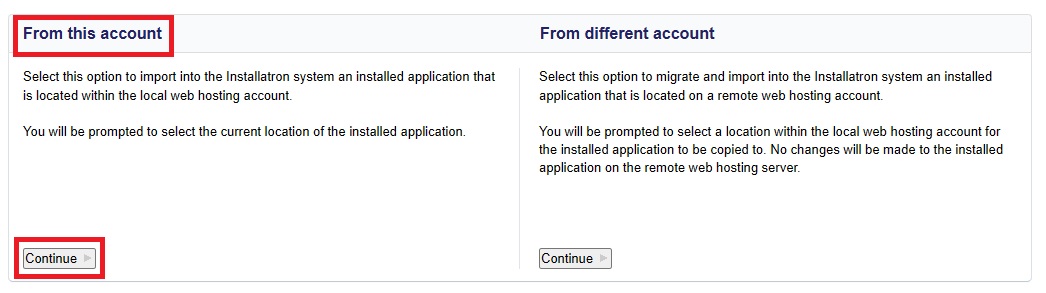
Choose the Continue button under From this account.
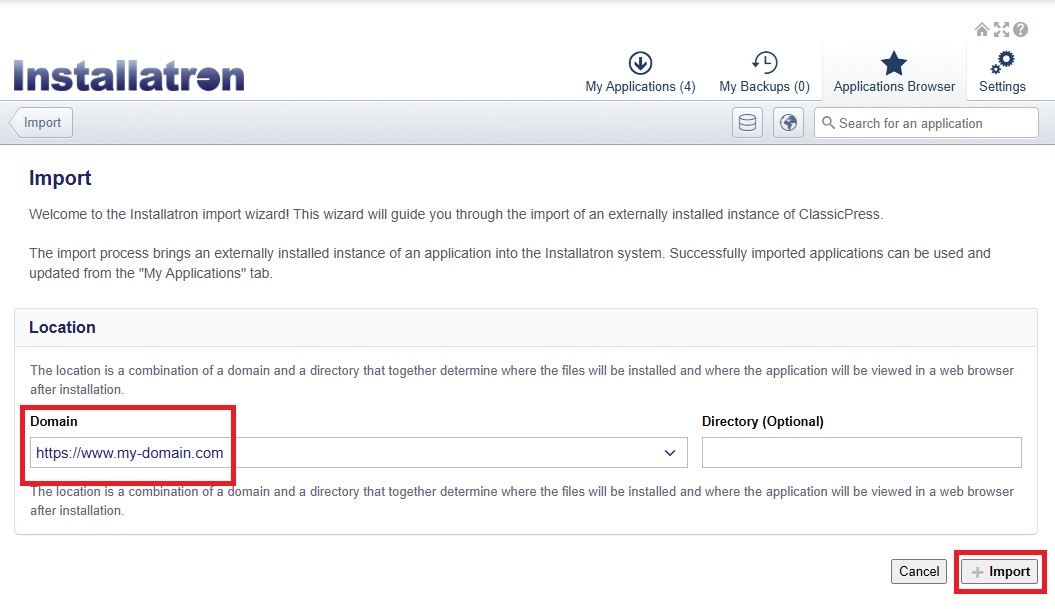
Then fill in the data from your existing ClassicPress site. When you have all the details correct, click the Import button.
You should now be presented with a screen showing the details of your application:
Congratulations… you successfully imported your install as ClassicPress in Installatron!
CreditsLink to this section
This document is based on a tutorial written by Patrick Klein and posted on the ClassicPress blog.