Each post in ClassicPress can be filed under one or more tags. This aids in navigation and allows posts to be grouped with others of similar content.
Unlike categories, tags have no hierarchy so there is no Parent > Child relationship like that of categories. But, like categories, tag names must be unique.
Depending on your theme, tags can be displayed under each post.
When someone viewing your blog clicks on one of these tag links, a tag archive page will be displayed showing all the posts belonging to that tag.
In addition, if using widgets, the Tag Cloud Widget can be added to the sidebar to display all the tags used in a cloud (tags are sized by number of times thay are referenced in posts).
Tag screenLink to this section
The Tag Screen allows you to create new tags, and to edit or delete existing ones.
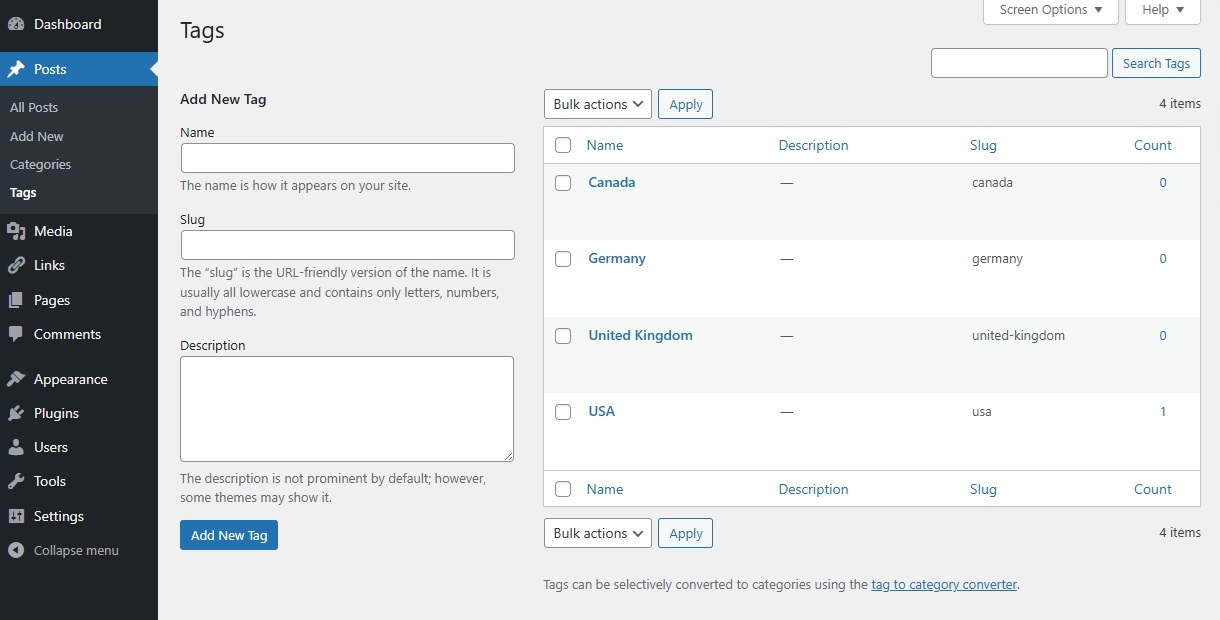
This screen is divided into the two sections – Add New Tag on the left, and the Tag Table on the right.
Add New TagLink to this section
This part of the screen allows you to create a new tag. There are three pieces of information associated with each new tag: the name, slug and description.
- Name: To reiterate, the tag name must be unique.
- Slug: The tag slug must also be unique. The slug is the URL-friendly version of the name. It is usually all lowercase and contains only letters, numbers, and hyphens. For example, setting a tag name of Recipes and a tag slug of food would show all Recipes posts with a URL like example.com/tag/food/.
- Description: Tag descriptions are optional. Some themes take advantage of tag descriptions, others do not, so having descriptions may or may not modify the way tags are displayed for your site. Even if they are not used by your site’s theme, you may still find them useful from an administration point of view.
Once you’ve entered in all the information about your new tag, use the Add New Tag button to save it.
Tag TableLink to this section
This table lists all of your tags by row. Tags are displayed alphabetically by tag name.
The table of tags contains the following columns:
- [ ] – A checkbox that when clicked (checked), selects that particular tag to be deleted when the Delete Action is applied.
- Name – The name of the tag. Click on the tag’s name to edit the tag.
- Description – Tag descriptions are optional.
- Slug – The slug of the tag (usually in lower case letters).
- Count – The number of posts which have this tag assigned. Click on the number in the count column to be directed to the Posts Screen to manage the posts in that tag.
Screen OptionsLink to this section
The Screen Options allow you to choose which columns are displayed, or not displayed, in the underlying table. Clicking on the screen options tab shows a list of the columns with a check-box next to each column.
Check the box for each column you want displayed in the table, or uncheck the box to not display that column.
In addition, the number of tags to display in the table of tags can be set. Click the Apply button to save and close the screen options.
SearchLink to this section
Above the table, to the right, is a search box where you can enter a word, or series of words, and click the Search Tags button to search and display all the tags meeting your search words.
Using Selection, Actions, and ApplyLink to this section
SelectionLink to this section
This section allows actions to be performed on one or more tags displayed in the table. For actions to be performed on multiple tags at once, those tags must be first selected via one of these methods:
- Select one tag at a time – To select a tag, the checkbox to the left of the tag entry must be checked (clicked). It is possible to keep selecting more tags by checking their respective checkbox.
- Select all tags in given table – All tags in a given table can be selected by checking the checkbox in the table’s title, or footer bar. Of course, unchecking the header or footer title bar checkbox will cause all entries in that table to be unchecked (NOT selected).
- Reverse Selection – A reverse selection means checked items become unchecked, and unchecked items become checked. A reverse selection is accomplished by holding the Shift key on the keyboard and clicking the header or footer title bar checkbox.
ActionsLink to this section
Actions describe the process to be performed on particular tags. There are two styles of actions that will be referred to as Bulk Actions and Immediate Actions. The follow describes these actions:
- Bulk Actions – These actions can be performed on one, or more tags, at one time, if those tags have been previously selected. Bulk actions are available, when appropriate, as choices in the actions pulldown box, above each table. The only bulk action allowed is Delete.
- Immediate Actions – Immediate actions are performed immediately, on an individual tag. Hovering the mouse cursor over the tag row reveals the Edit, Quick Edit, Delete and View options under the name column in that tag row. Clicking on a tag name will also initiate the edit action.
The available actions are described below:
- Edit – This immediate action displays the Edit Tag Screen to edit the tag fields. This action can be initiated by click on the tag name or clicking on the edit option just below the tag name. See the Edit Tag section for details on editing a tag.
- Quick Edit – This immediate action initiates the quick edit of that tag. See the Quick Edit section for details of doing a quick edit on a tag.
- Delete – This action deletes the tag. Delete is available as a both a bulk action and an immediate action. Note: Deleting a tag does not delete the posts that have this tag.
- View – This immediate action, if supported by the active theme’s template, will display the posts belonging to the tag.
ApplyLink to this section
After one or more tags are selected, and after a bulk action is specified, the Apply button performs the given action on the selected tags. Remember, prior to executing bulk actions, one or more tags must be selected, as described before.
Quick EditLink to this section
Via the Quick Edit action the name and slug of the tag can be changed.
Click the Cancel button to cancel any changes and return to the table of tags.
Once you’ve edited all the information about the tag, use the Update Tag button to save the changes.
Edit TagLink to this section
This screen is displayed by clicking on a tag’s name in the table of tags, or by clicking on the edit option just below the tag name.
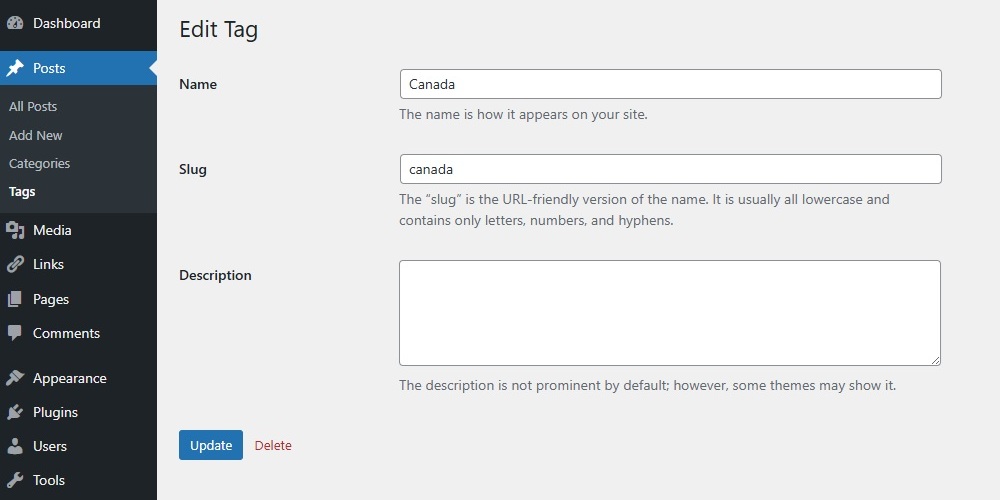
It is possible to edit three pieces of information associated with each tag: the name, slug and description.
For a detailed explanation of these pieces of information go to the Add New Tag section above.